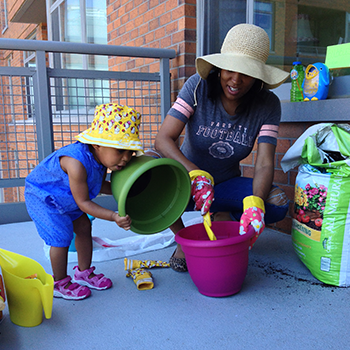
Several years ago, I started a balcony garden with my then 18-month-old daughter, Riley. Fueling my passion was a poster I’d seen that read, “Kids that grow up with plants become curious, creative, confident and connected to nature.” I wanted this for my daughter.
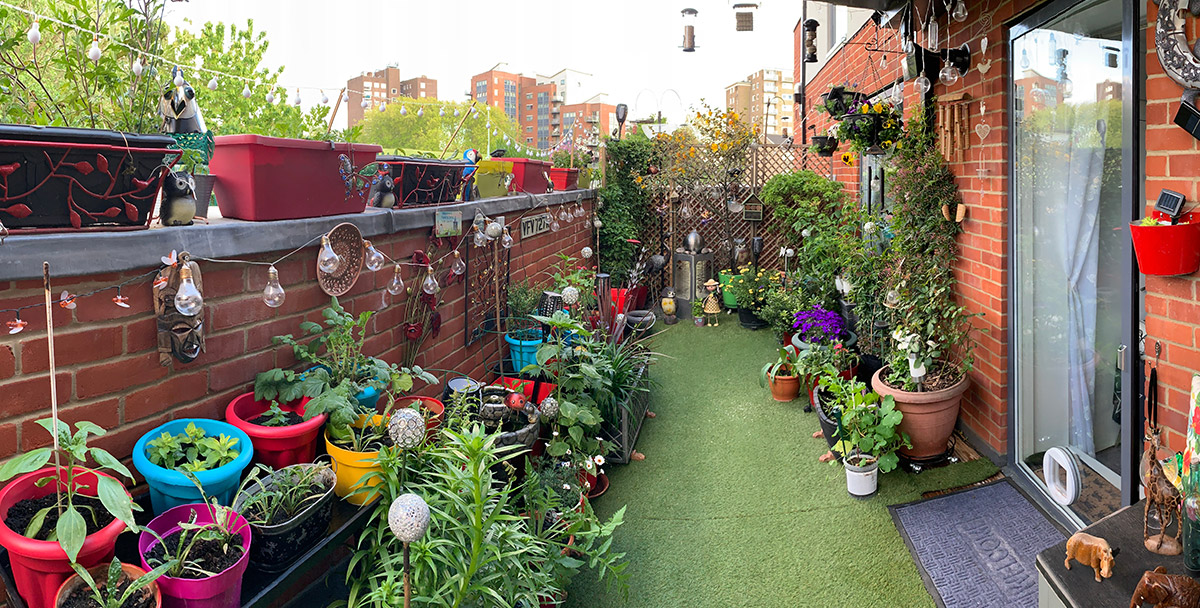
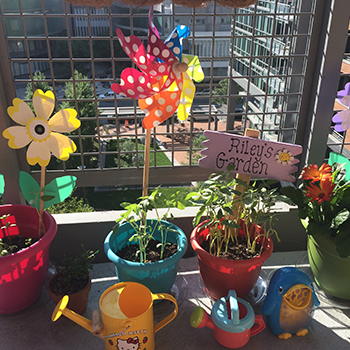
That summer, beautiful sunflowers sprouted from the multicolored pots Riley had helped choose and plant, and I grew basil and cilantro in my railing planter. Our little balcony garden did exactly what the quote had said it would, so much so that Riley, now 7, eagerly volunteers to work in her school’s community garden. As for me, I finally decided to plant my first full-blown kitchen herb garden last year.
Not only do fresh herbs make a dish pop but having your own supply can be more economical and less wasteful than buying from the market. The basil starter plant that I purchased for $4.99 supplied me with fresh basil all summer, versus the $3.50 that I would have spent for one small container at the grocery store. And I can pick as much as I need at a time, so there’s nothing lingering in my fridge, going bad before I can use it.
You don’t need a lot of space to set up a kitchen herb garden – just a sunny spot with enough room for a few small pots. Plus, the project requires no previous gardening experience.
Here are the most important things to keep in mind:
Selecting Herbs
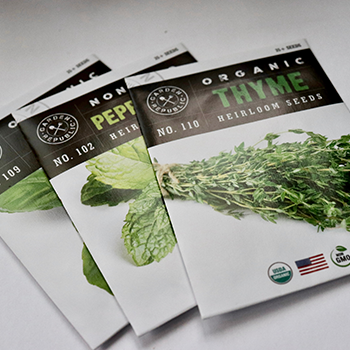
Make a list of the herbs that you use most often. For me, that’s basil, mint and thyme. Next, research the process for growing and maintaining these herbs. That includes factors such as seed spacing, watering schedule, hours of sunlight needed and days to maturity. All of this information is easily found online (see a few of my favorite sites below) or on the back of seed packets, which you can buy at your local nursery or online. I’ve had good luck with online retailers Gardener’s Supply Company and Baker Creek Heirloom Seeds.
Planting Herbs
Plant each herb in a separate container (check your seed packet or plant tag for the proper pot depth) with drainage holes at the bottom and a drainage pan underneath. I bought glazed pots and drainage pans on Amazon; a few of my sources had recommended glazed over terra cotta, which sucks moisture from the soil but may dry out your garden if you don’t stay on top of watering.
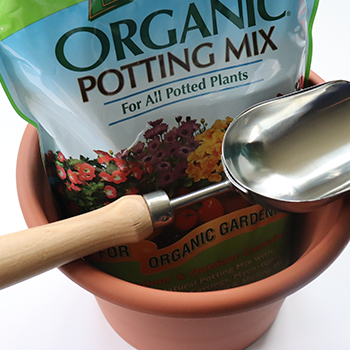
When transplanting starter plants, fill the new container with well-drained organic potting soil, then dig a hole that’s big enough to hold the starter plant. Remove the plant from its container, separate any clumped roots, place it inside the hole and fill any spaces with potting soil as needed. Water until the soil is moist (not soaking) to the touch.
When starting from seeds, you’ll need to use a seed-starting potting mixture, which is lighter than regular potting soil to provide the delicate seeds with the most viable environment for growth. Fill each pot with the potting mixture to about an inch under the rim, then gently press the seeds into the soil. Most seeds should be planted an inch apart to prevent overcrowding. (They may need to be thinned once they’ve germinated.) Water until the soil is moist, and check the seed packet for regular watering instructions.
Cultivating Herbs
Keep your garden in a place where it will get direct sunlight, such as a windowsill. If you can’t do this, consider purchasing grow lights – a simple setup starts at $15. Be sure to read the packaging to see how far the lights should be placed from plants to avoid burning.
Most herbs are sensitive to overwatering, so limit watering only to when the soil is dry to the touch. In our kitchen garden, Riley and I use a small watering can with a showerhead spout that allows for even distribution.
Harvesting Herbs
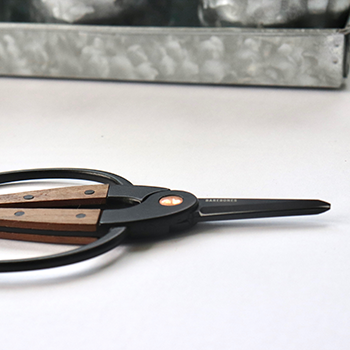
Wait until your herbs are at least 4 to 6 inches tall before harvesting with sharp gardening or kitchen shears. Small, frequent harvests help keep many herbs nice and full, but be careful: Cutting more than one-third of a plant at a time won’t give it enough time to replenish itself before the next harvest. From there, it’s cooking time. Bon appétit!